


You know those sites that you stumble across and can’t believe they’re not custom? Don’t look now, but today that’s you.
Today I’m giving away our top hacks and how-tos for customizing legit websites with a creative edge. Designer-level street cred? Making dolla’ dolla’ bills for your biz? Wanna-be-you imitators? *Sigh.* Don’t say I didn’t warn you.
A Little Showit Vocab to Start the Party
Templates: A Showit template is a pre-designed website that you can purchase and use within your account on the Showit platform. Settings can be customized for colors, fonts, images, etc. to make it your own.
Canvas: Canvases are the building blocks of a Showit website, like sections that you use to build a page from banner to content to footer. Each page is usually made up of multiple canvases.
Element: A term I use to describe a single part of the design, such as an icon, an image, or a chunk of text. Each of these elements has its own settings.
Showit Dashboard: Where you can edit the content of one website at a time. You’ll see that “Site” and “Page” settings load on the left-hand side. When you’re working on a canvas, the individual canvas and element settings appear on the right.

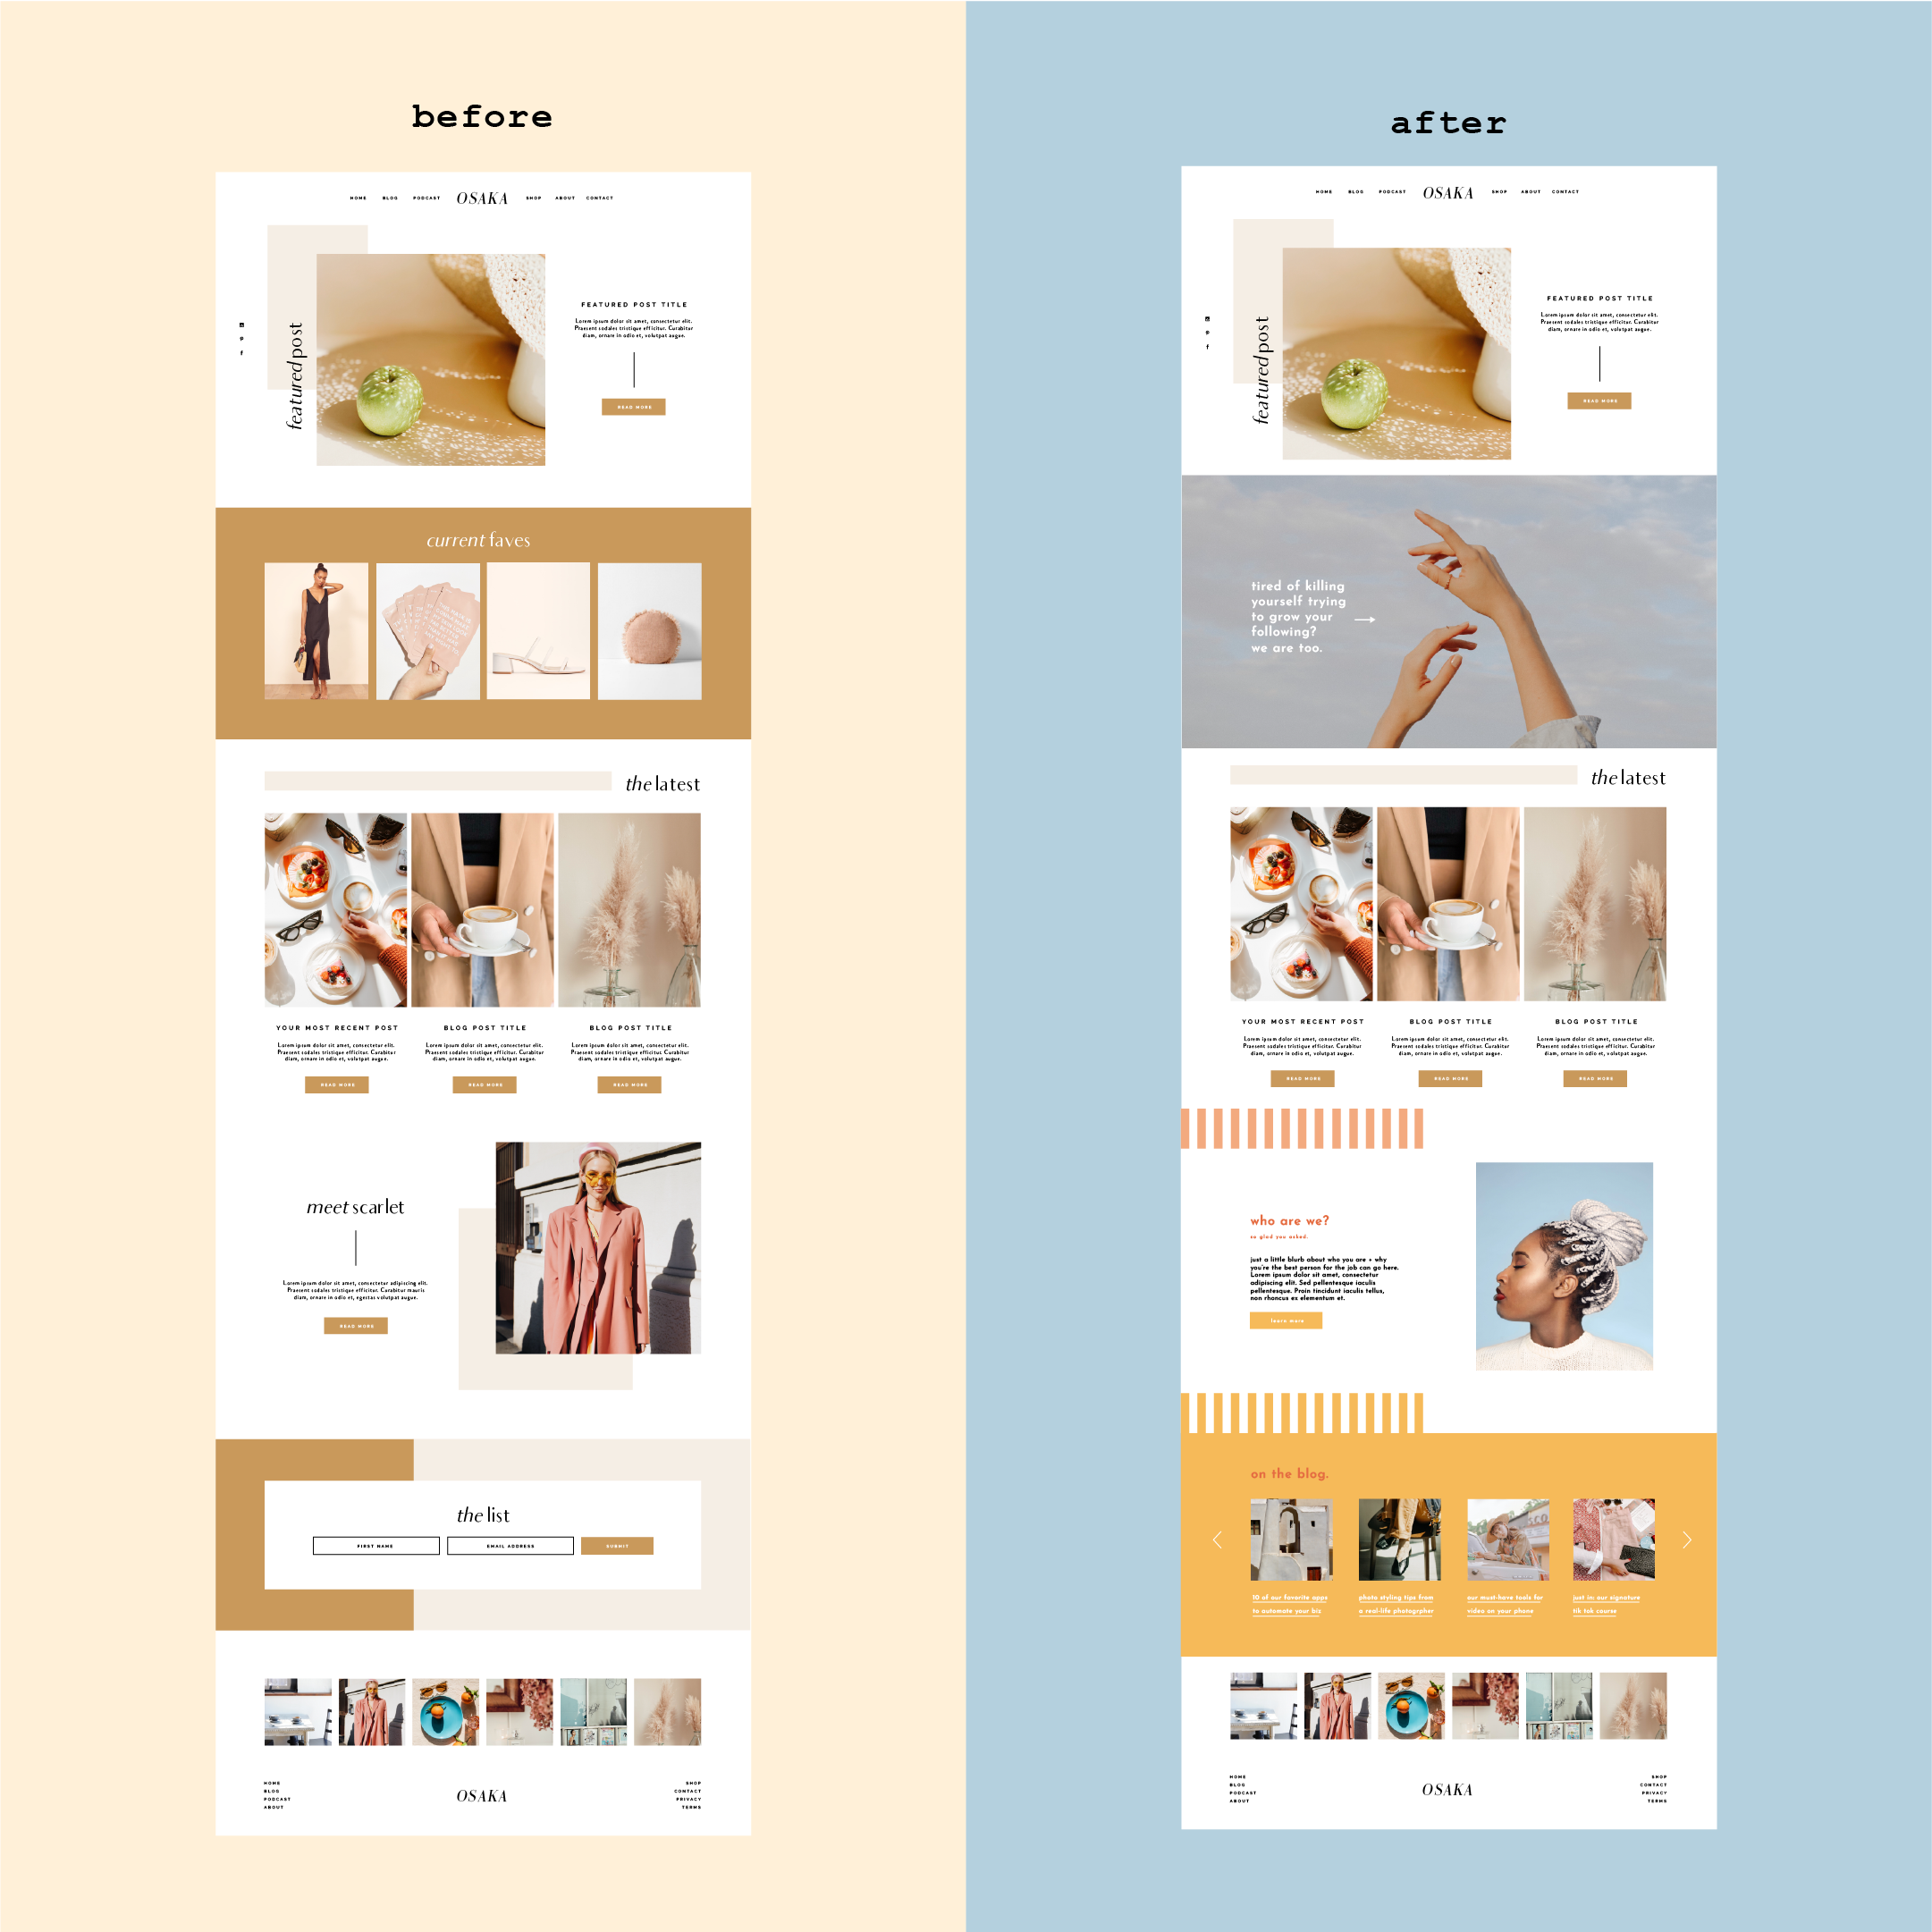
Hack #1. Bring in a canvas design from another template
Level: Beginner
Why would you need it? You know when you love elements of two different templates, and you can’t choose between the two? If only you could just smash them into one! Well, look out world — with Showit, you can.
How do you do it? By navigating to your other template and grabbing the feature you want. Note: You will need to have both website templates within your Showit account.
- Start by opening the template that you will be customizing.
- In the Showit settings on the left-hand side, click on the Page where you want to insert a new canvas. It will show you a list of all current canvases on that page.
- Next to the name of the page, you’ll see an ellipsis button […]. Click it and then select “Add New Canvas.”
- Showit will automatically show you all of the available canvases within your website design under the tab “Current Sites.” To the right of this tab, you’ll see another that says “My Sites” (for live sites) or “My Library” (for downloaded templates that aren’t live yet). Click the one that houses the template you want to pull from.
- Find the name of your desired template within the options, and open it.
- You’ll now see a dropdown list of all the pages within the template. Click the page that includes the canvas you want to replicate.
- You’ll see another dropdown. Find the canvas name. Click it, and then click the “Add” button in the bottom right corner of the screen.
- You’ll automatically be taken back to your main page, with the new canvas added! Voilà!
Level: Beginner
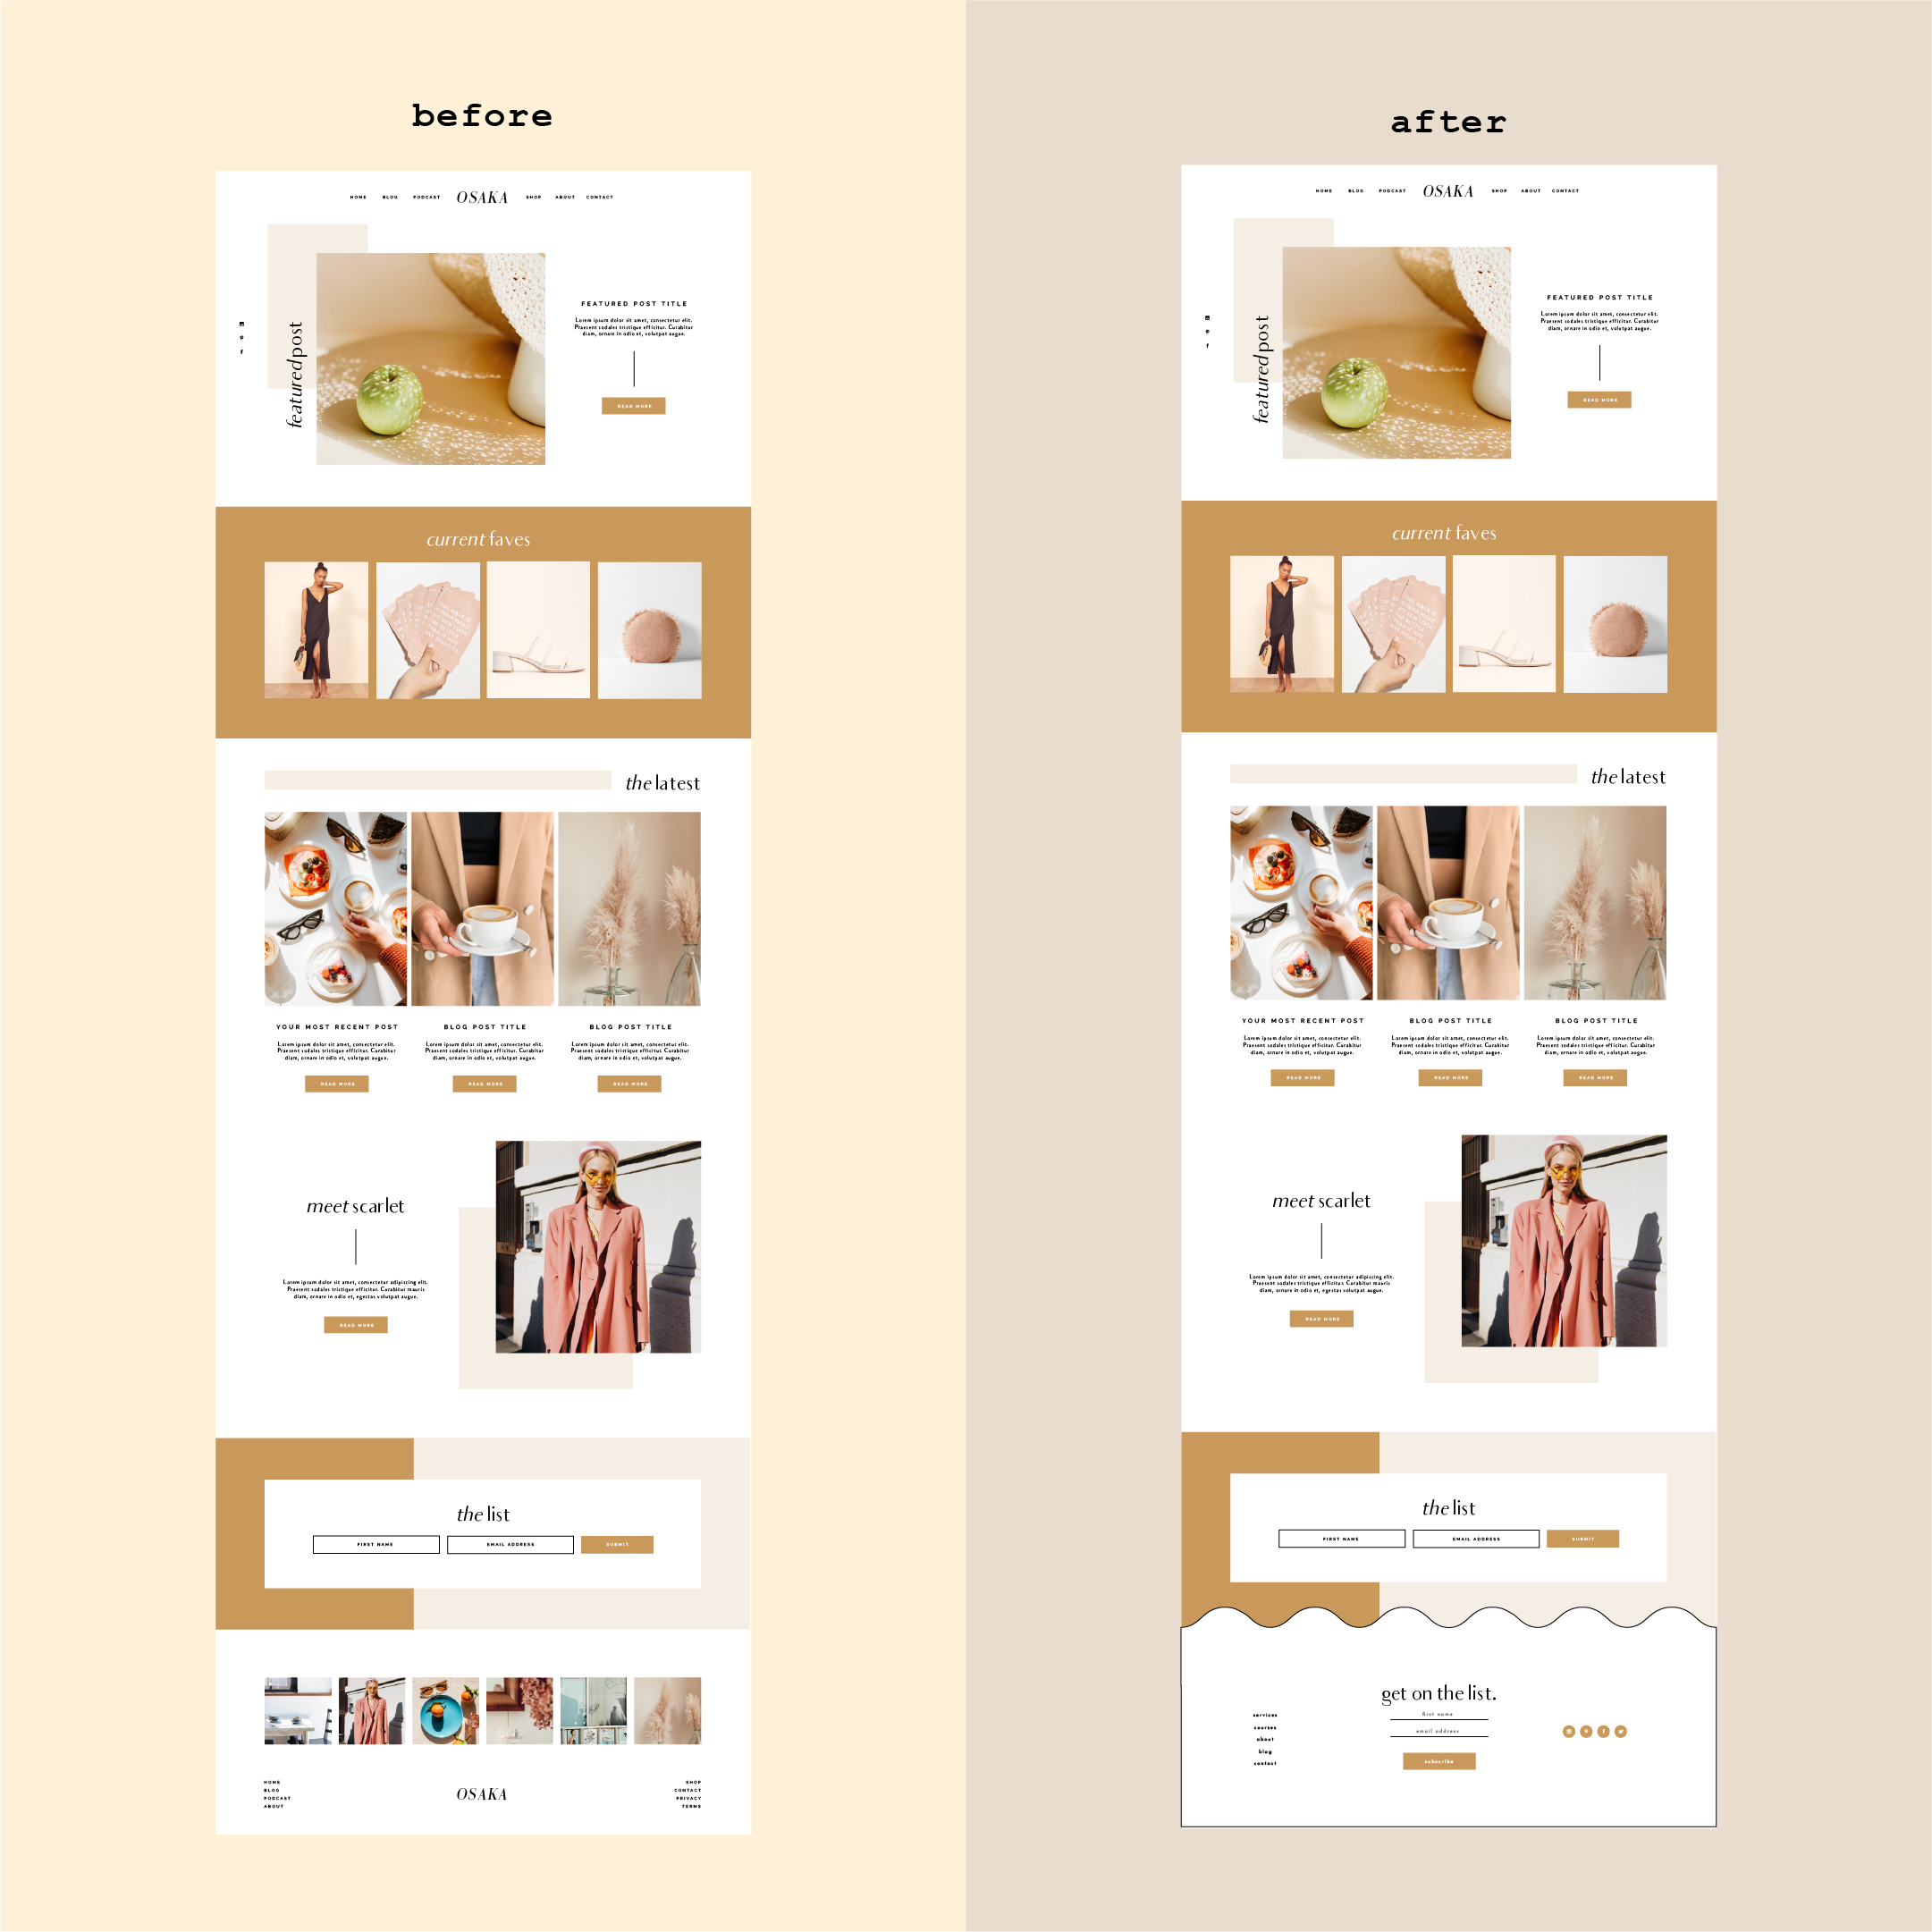
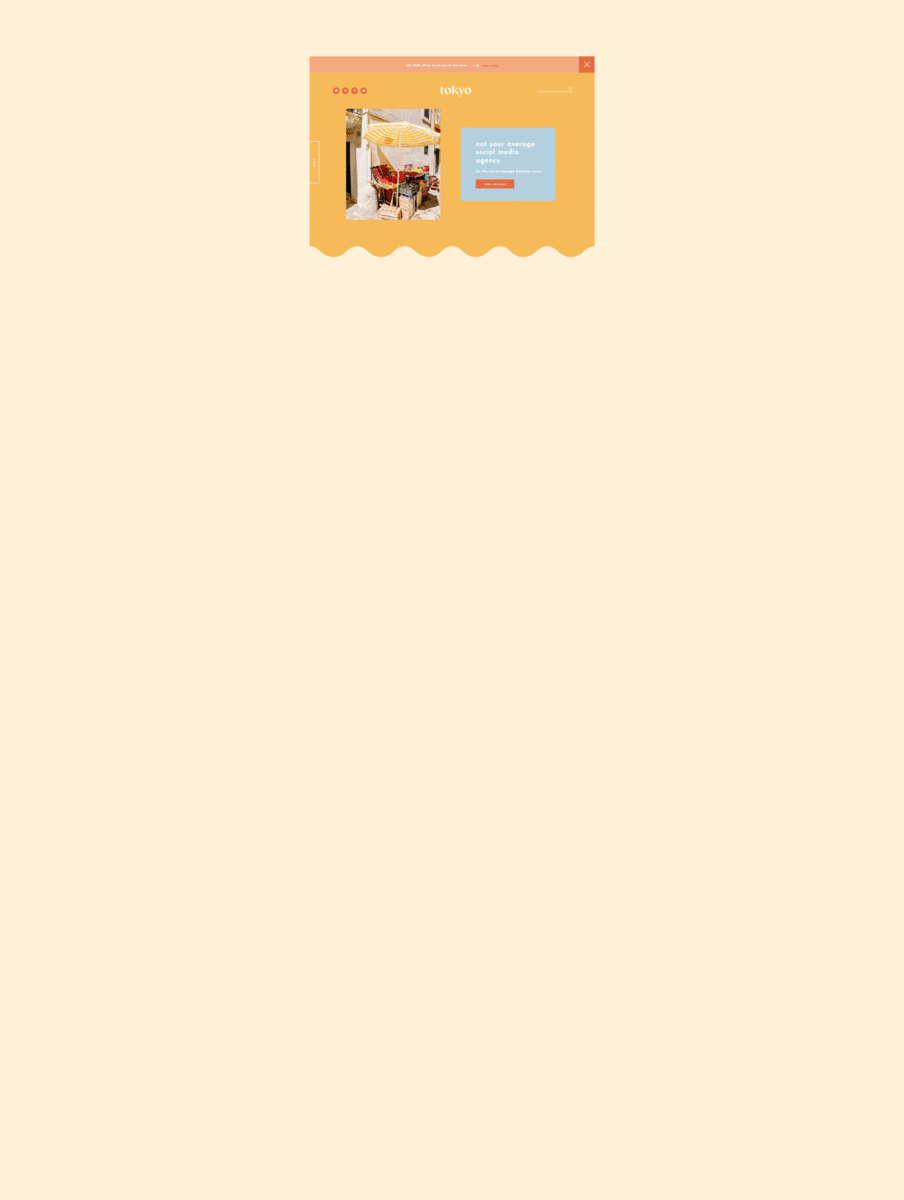
Why would you need it? This one is similar to Hack #1, but for an entire page. For example, maybe you love everything about the Osaka template, but you wish it had the long-form style of the Tokyo template’s podcast page. I hear ya.
How do you do it? By navigating to your other template and grabbing the feature you want. Note: You will need to have both website templates within your Showit account.
- Start by opening the template that you will be customizing.
- On the left-hand side of your Showit dashboard, you’ll see two tabs: “Site” and “Page.” Click “Site.”
- Below, you’ll see “Pages” with a [+] icon next to it. Click it, then click “Select New Page.”
- Showit will automatically show you all of the available pages within your website design under the tab “Current Sites.” To the right of this tab, you’ll see another that says “My Sites” (for live sites) or “My Library” (for downloaded templates that aren’t live yet). Click the one that houses the template you want to pull from.
- Find the name of your desired template within the options, and open it.
- You’ll now see a dropdown list of all the pages within the template. Click the page you want to import into your template, and then click the “Add” button in the bottom right corner of the screen.
- You’ll automatically be taken back to your original template, with the new page added!
Hack #2. Bring in a full page design from another template
Hack #3. Create a content slider.

Level: Intermediate
Why would you need it? Imagine sharing a testimonial or a photo of your work. You might want visitors to click an arrow that “slides” that content out of view and slides another in.
How do you do it? Using multiple canvas views and an icon programmed to change between them. This is the trickiest one on this list, but looks BA when you get it right.
- In your main site dashboard, click on “Page.”
- Scroll down to the canvas you want to edit, and click the ellipsis button […]. Select “Add Canvas View” from the dropdown options.
- You’ll now see “View 1” folder in your list of page canvases.
- Next, highlight all of the elements on the canvas that you will want to disappear, or “slide out” of view. (Tip: If you hold down the Shift key and click on the elements within the design, you will select all of them.)
- Drag these elements into the View 1 canvas. If you click View 1, you should see them all in there.
- Now, click the ellipsis button next to the View 1 folder, and select “Duplicate.”
- You now have a second View folder (you can rename it “View 2”), and this is where you will change the content within the canvas. What you create in View 2 is what will “slide in” after View 1. It could be a new quote with new colors, it could be another photo of your work, etc. You can get creative with it!
- Now that you have View 1 and View 2 designed, it’s time to set up the arrow that a visitor clicks to go from one to the other.
- In the bottom center of your dashboard, you’ll see three icons for adding elements to the page. One for adding text (left), one for adding miscellaneous elements (center), and one for adding images (right). Click the center option, then click “Add Icon.”
- Note: In the dashboard settings on the left, make sure the icon gets added to the overall canvas, not the View 1 or View 2 folders.
- Click on the icon again. In the right-hand side, you’ll see the icon’s settings. Click “Icon Chooser” to select the shape you want, such as an arrow. Position it where you would like it to go on your canvas.
- While the icon is still selected, choose “Click Actions” on the right-hand side. Under Link Type, select “This Canvas.” Under Canvas View, select “Next.” (So that it automatically goes to the next “View” available in the sequence.) You’ll also want to check “Loop Canvas Views” and uncheck the other settings.
- You could also create a second icon, such as an arrow in the other direction, and follow the same instructions as above, except click “Previous” (not Next) under the Canvas View, so someone could feasibly move back and forth between the Views. And you’re done!
Hack #4. Duplicate canvases to build a page from scratch
Level: Beginner
Why would you need it? Your template has the look and cheeky style you want, but it doesn’t have all of the pages you need. Creating a new page from scratch seems like the best option, but it’s kinda daunting… or is it?? Watch me.
How do you do it? Duplicate canvases from other areas of the site makes building a page from scratch 10x easier. Just find the canvases you want and stack ‘em up.
- Start by opening the template that you will be customizing.
- On the left-hand side of your Showit dashboard, you’ll see two tabs: “Site” and “Page.” Click “Site.”
- Below, you’ll see “Pages” with a [+] icon next to it. Click it, then click “Add Blank Page.” Name your new page.
- In the top two menu tabs, now you’ll click on “Page.”
- Click the ellipsis button […] at the top, and then click “Add New Canvas.”
- Showit will automatically open all of the pages and canvases in your site under “Current Site.” You’ll also have the open to browse other canvases within the tabs to the right, “My Sites” or “My Library” (as I showed you in Hacks #1 and #2).
- Select the page that has a canvas you want to duplicate. Find the canvas. Then click “Add” in the bottom right corner of the screen.
- You can do this as many times as necessary to build out the page you want, from announcement bar to navigation menu, main banner to content to footer.
- You can reorder your canvases on the left-hand side, within the Page’s settings, by dragging and dropping them.
- That’s it! You now have a built-out page that you can customize without affecting those duplicated elements on any other page.
Level: Intermediate
Why would you need it? Animation makes the website feel like it has custom coded features without actually having to code anything! Yes, I rated this Hack as Intermediate, but it’s actually very easy to do. It just takes a little extra finesse to make the animation feel “wow,” instead of cheesy. You got this!
How do you do it? With transitions! Just remember, with movement, less is more.
- First, decide what you would like to animate on the page. Do you want an image and text to slide in from both sides and meet each other in the middle? Do you want graphics to appear one after the other, or icons to “dance” across the page?
- Once you have your idea, add your elements to the canvas.
- Next, click on a single element. On the right-hand side, you’ll see the element-specific settings. Select “Transitions.”
- You can now choose the type of transition you want, such as fading, sliding in, etc. Each has its own settings you can further customize.
- Note: You will need to click EACH element individually and set its transition to be the same as the other elements that you want to appear/move together.
- You can also set “fade” transitions progressively on a timer. If you set each element to fade in with the same “fade time” but a delay that is just a bit longer than the previous one, the graphics will successively appear on the page one after another, like they’re drifting across the screen. Neat!
- Lastly, click Preview in the top right corner to see what the animation will look like on your website.
Hack #5: Create custom animation

Hack #6. Add a custom favicon
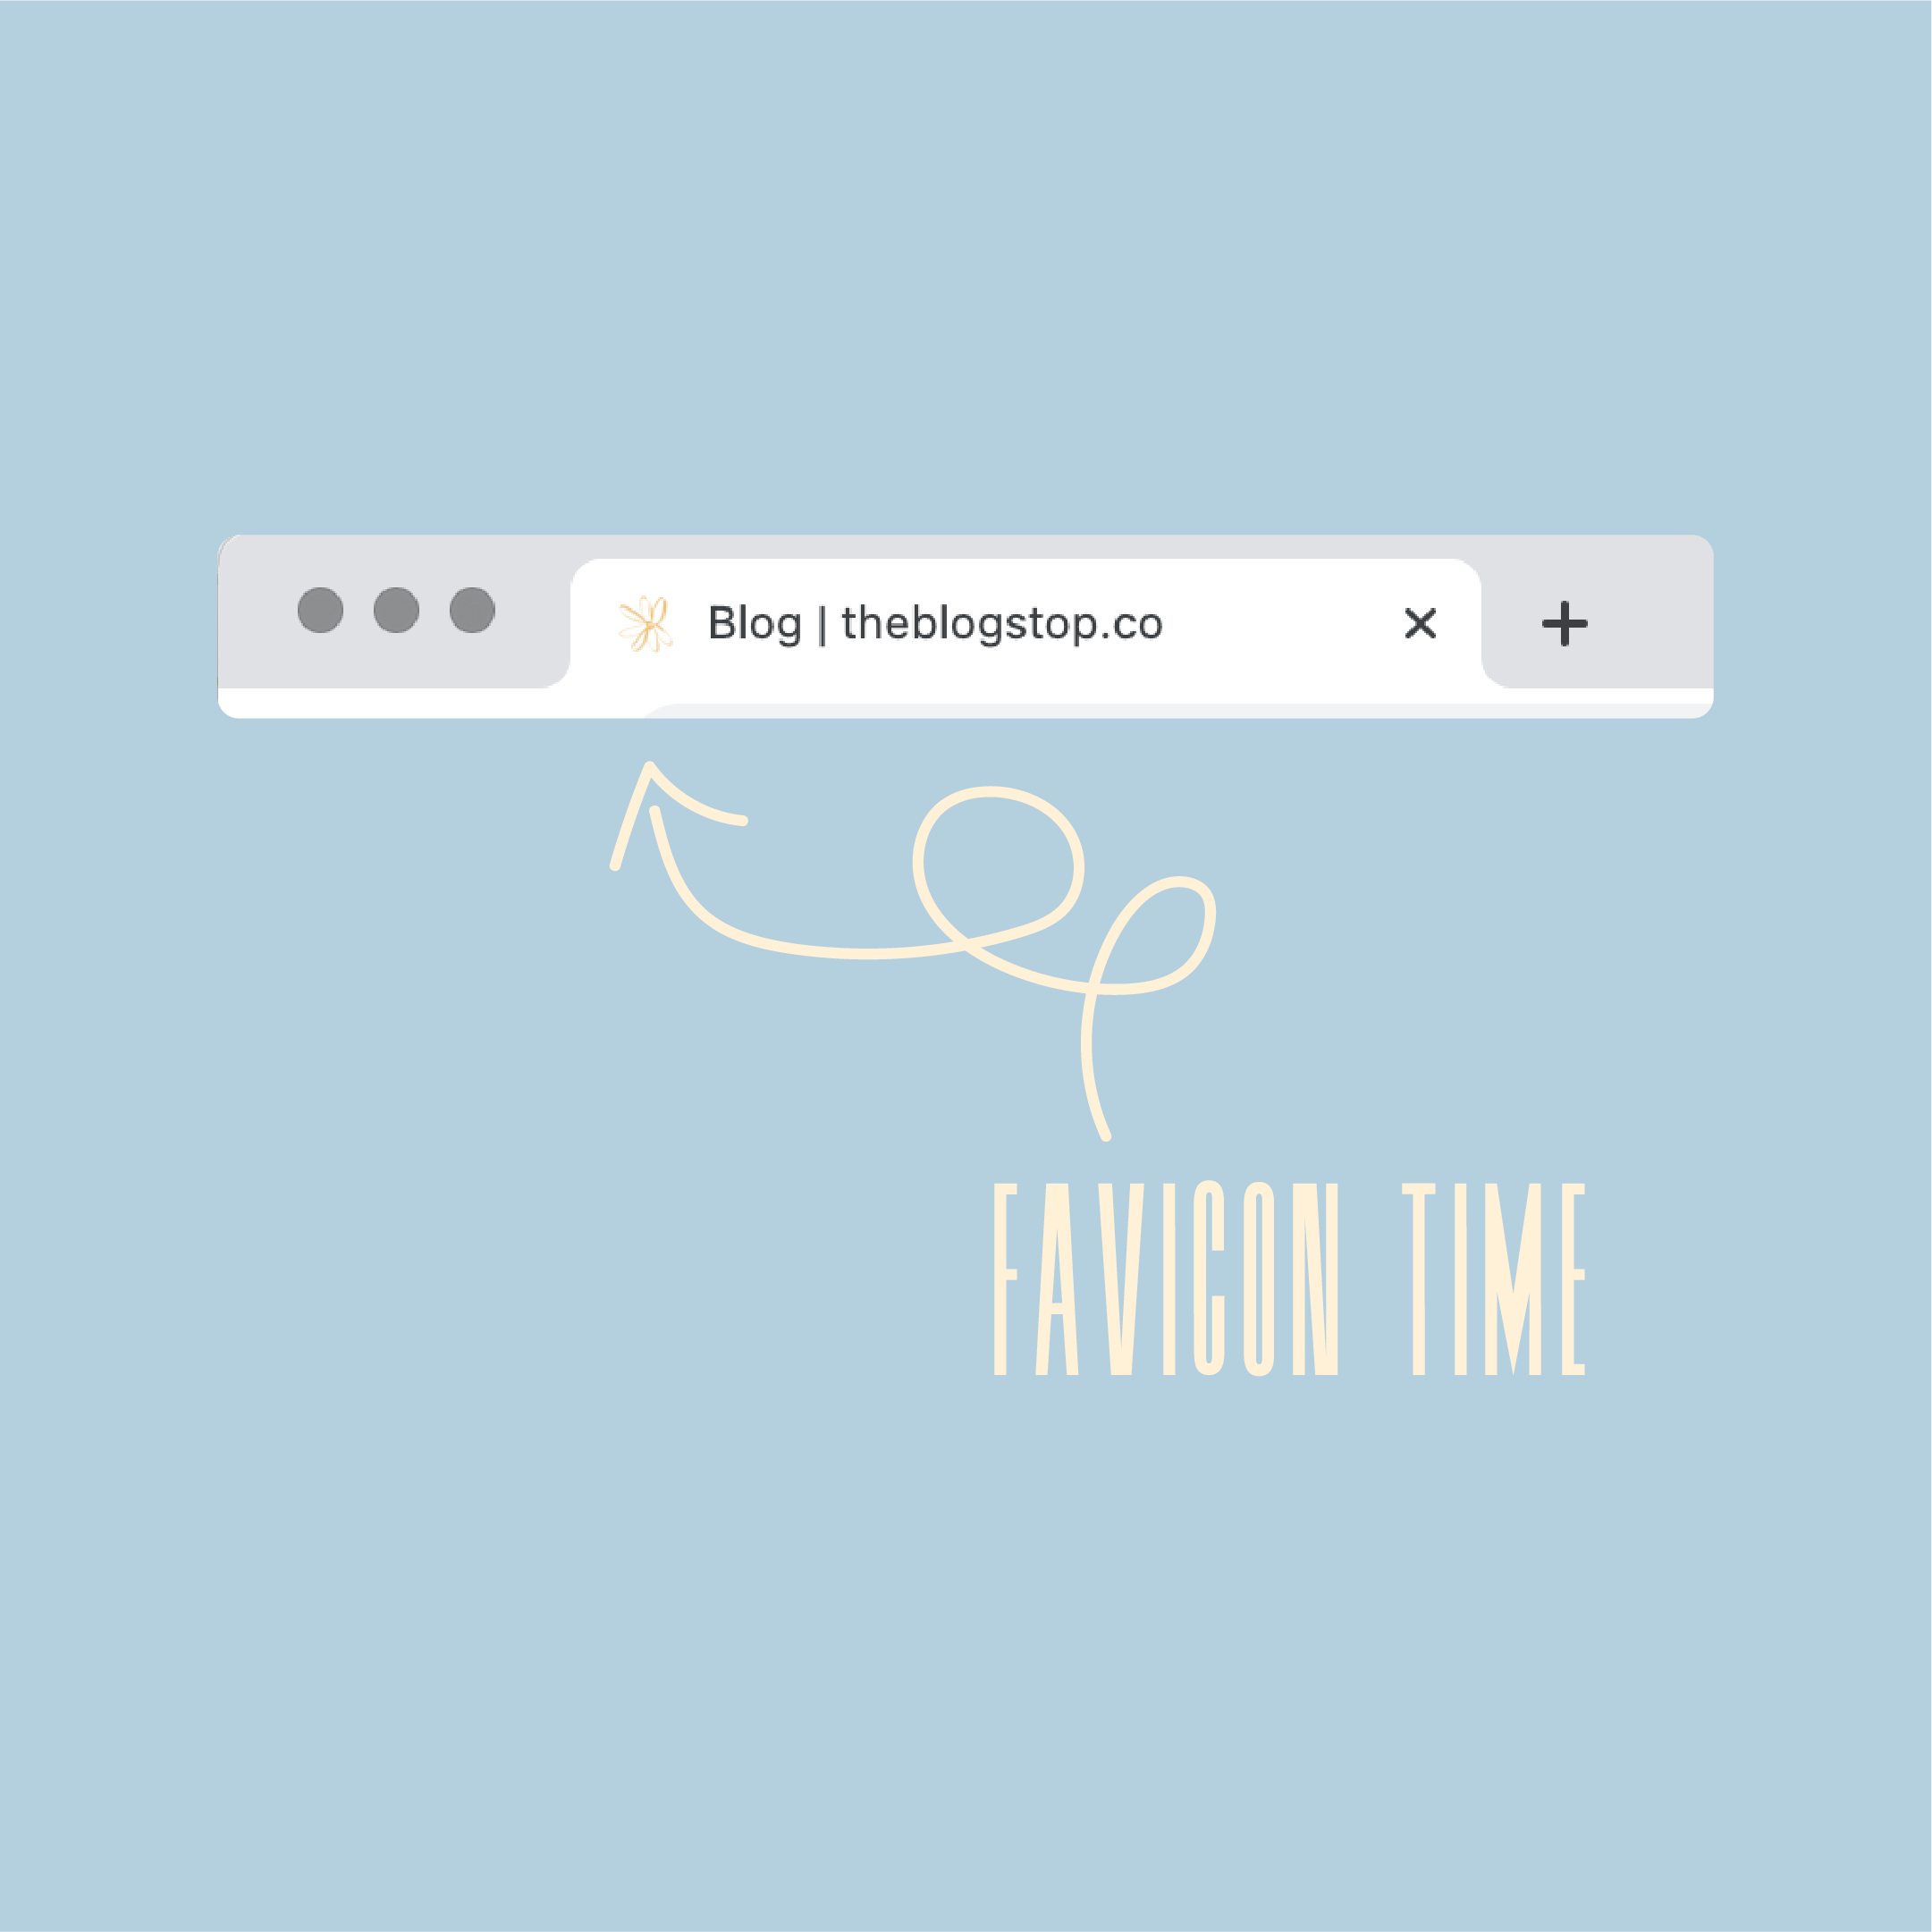
Level: Beginner
Why would you need it? A favicon is the little icon that appears in your browser tab and represents your website. For example, Instagram has their iconic pink logo, Google has the multi-colored letter “G”, and The Blog Stop has a hand-drawn flower I made myself. (Same league as IG and the Google? Oh yeah.) Add a favicon and your site will feel just as legit and custom.
How do you do it? By preparing a favicon file with your logo or submark and uploading it. Easy as that.
- Create your favicon design in Canva, Photoshop, or your preferred design tool. It will need to be 32×32 pixels. Suuuuper tiny, but quality is important! A grainy favicon is a no-go. Make sure it has a transparent background.
- Save it as a .png file and rename it to the name of your business.
- Go into your website’s settings in Showit. In the top left corner, you’ll see two tabs: “Site” and “Page.” Click “Site.”
- Below, you’ll want to select “Site Settings.”
- You’ll see a popup that includes your site name, along with other settings, including your favicon. Next to Favicon, click “Choose Image.”
- Upload your .png favicon file. Select it.
- Once you see that the file has uploaded to the site settings window, click Close… and you’re done!
Haven’t set up your Showit site yet? What are you waiting for? Run, don’t walk to our Showit 101 tutorial below, and set up your site in 5 minutes or less. For real.
xx,
Ariel

