


Raise your hand if you have a genius idea you finally want to get off the ground in 2020.
As a fellow entrepreneur, I know how daunting the thought of starting a business can be. The list of things you need to “have” is long and your time and budget are probably pretty small.
What if I told you that you don’t need to find or hire an expensive designer to get a beautiful, branded website up and running? Aaaaand, what if I told you it can happen in a week or two?
What is a website template?
A website template is a pre-designed, pre-made website. All you have to do is plug in your own content and go live!
Who are templates for?
Templates are perfect for business or blogger just starting out, with a smaller budget. By using a website template, you are getting a website that has been professionally designed by a designer at a fraction of the cost. Most templates are easy to use with a drag-and-drop customizer that will allow you to create a website with zero coding knowledge.
Sold on the idea? Here’s how to get started.
Step 1: Choose a website platform.
There are tons of website platforms out there – WordPress, Squarespace, Wix, Showit to name a few. My favorite platforms are WordPress.org and Showit. You can read more about why I chose to build my own website with WordPress HERE. WordPress requires a little additional set-up, but it’s 100% worth in terms of customizability and sustainability. It’s a platform that will grow with your business. If you need help setting up your WordPress site, I’ve written a step-by-step instruction guide HERE.

Step 2: Choose the perfect template.
Once you’ve settled on a website platform, the next step is to choose the perfect template for your needs. There are hundreds of website templates out there. So here are a few questions to help you narrow down your “must-haves”.
What will I be offering on my website?
Do I want to publish frequent, helpful content for my audience with a blog?
What is the #1 thing I want users to do when they land on my site?
Do I want to sell anything on my website?
What is my brand’s visual vibe? Minimal? Modern? Eclectic? Colorful?
What kind of functions do I want my website to have (ie. a contact form, Instagram feed, photo galleries, etc.)?
Keep your answers in mind throughout the search process. It’s important to look for a template that meets the needs of your business and can carry you through until you’ve reached a place where you can hire a designer.
Once you’ve answered these questions, it’s time to start searching! Here are some of my favorite website template shops, organized by platform:
WordPress
The Blog Stop
Showit
The Blog Stop
Saffron Avenue
Squarespace
GoLive
Big Cat Creative
Step 3: Customize your template.
Once you’ve selected your perfect template, it’s time to get in there and start customizing! Any template purchased through the website I listed above will come with detailed instructions on how to customize your template. Each platform is a little different. I would encourage you to refer to the instructions for your specific template. However, here are some important things to keep in mind when customizing…
Before making any changes to the layout, update your fonts and colors. Many website platforms will allow you to set your site fonts and site colors. Updating these elements of your overall site settings will make things easier when you go in to customize each individual page.
Start with your template’s header and footer. These are areas of your template that are mostly the same on every page. Customizing these areas should only need to happen once and the changes should be reflected on every page.
If you get stuck, don’t hesitate to reach out to the template designer. I love getting to help my template users! If they have questions or get stuck in the customization process, I’m more than happy to help. Also, if you decide to use a WordPress + ProPhoto template, ProPhoto has an incredible support team. They’ll hop into the backend of your site and get you unstuck within a day.
Step 4: Go live!
When you’re done customizing, pop a bottle and GO LIVE!! You did it. All on your own, you badass biz owner.
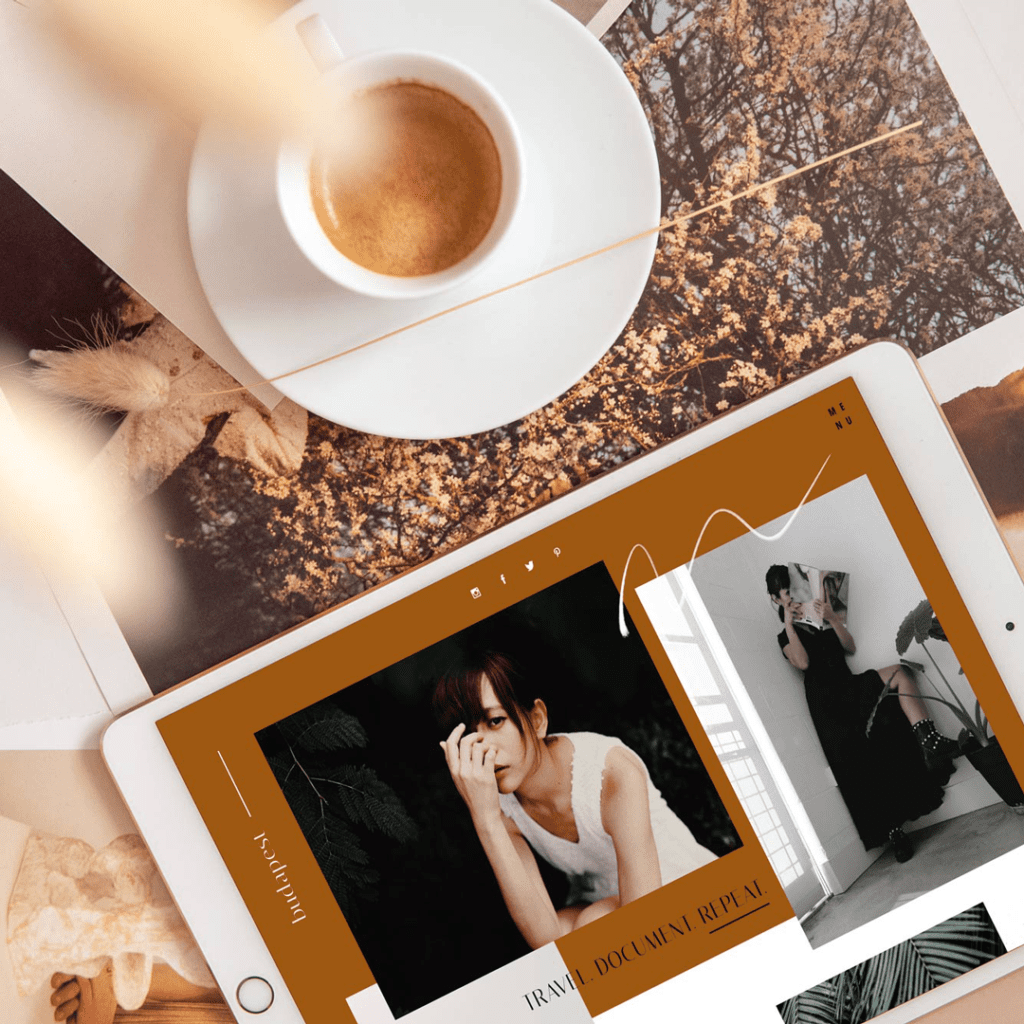
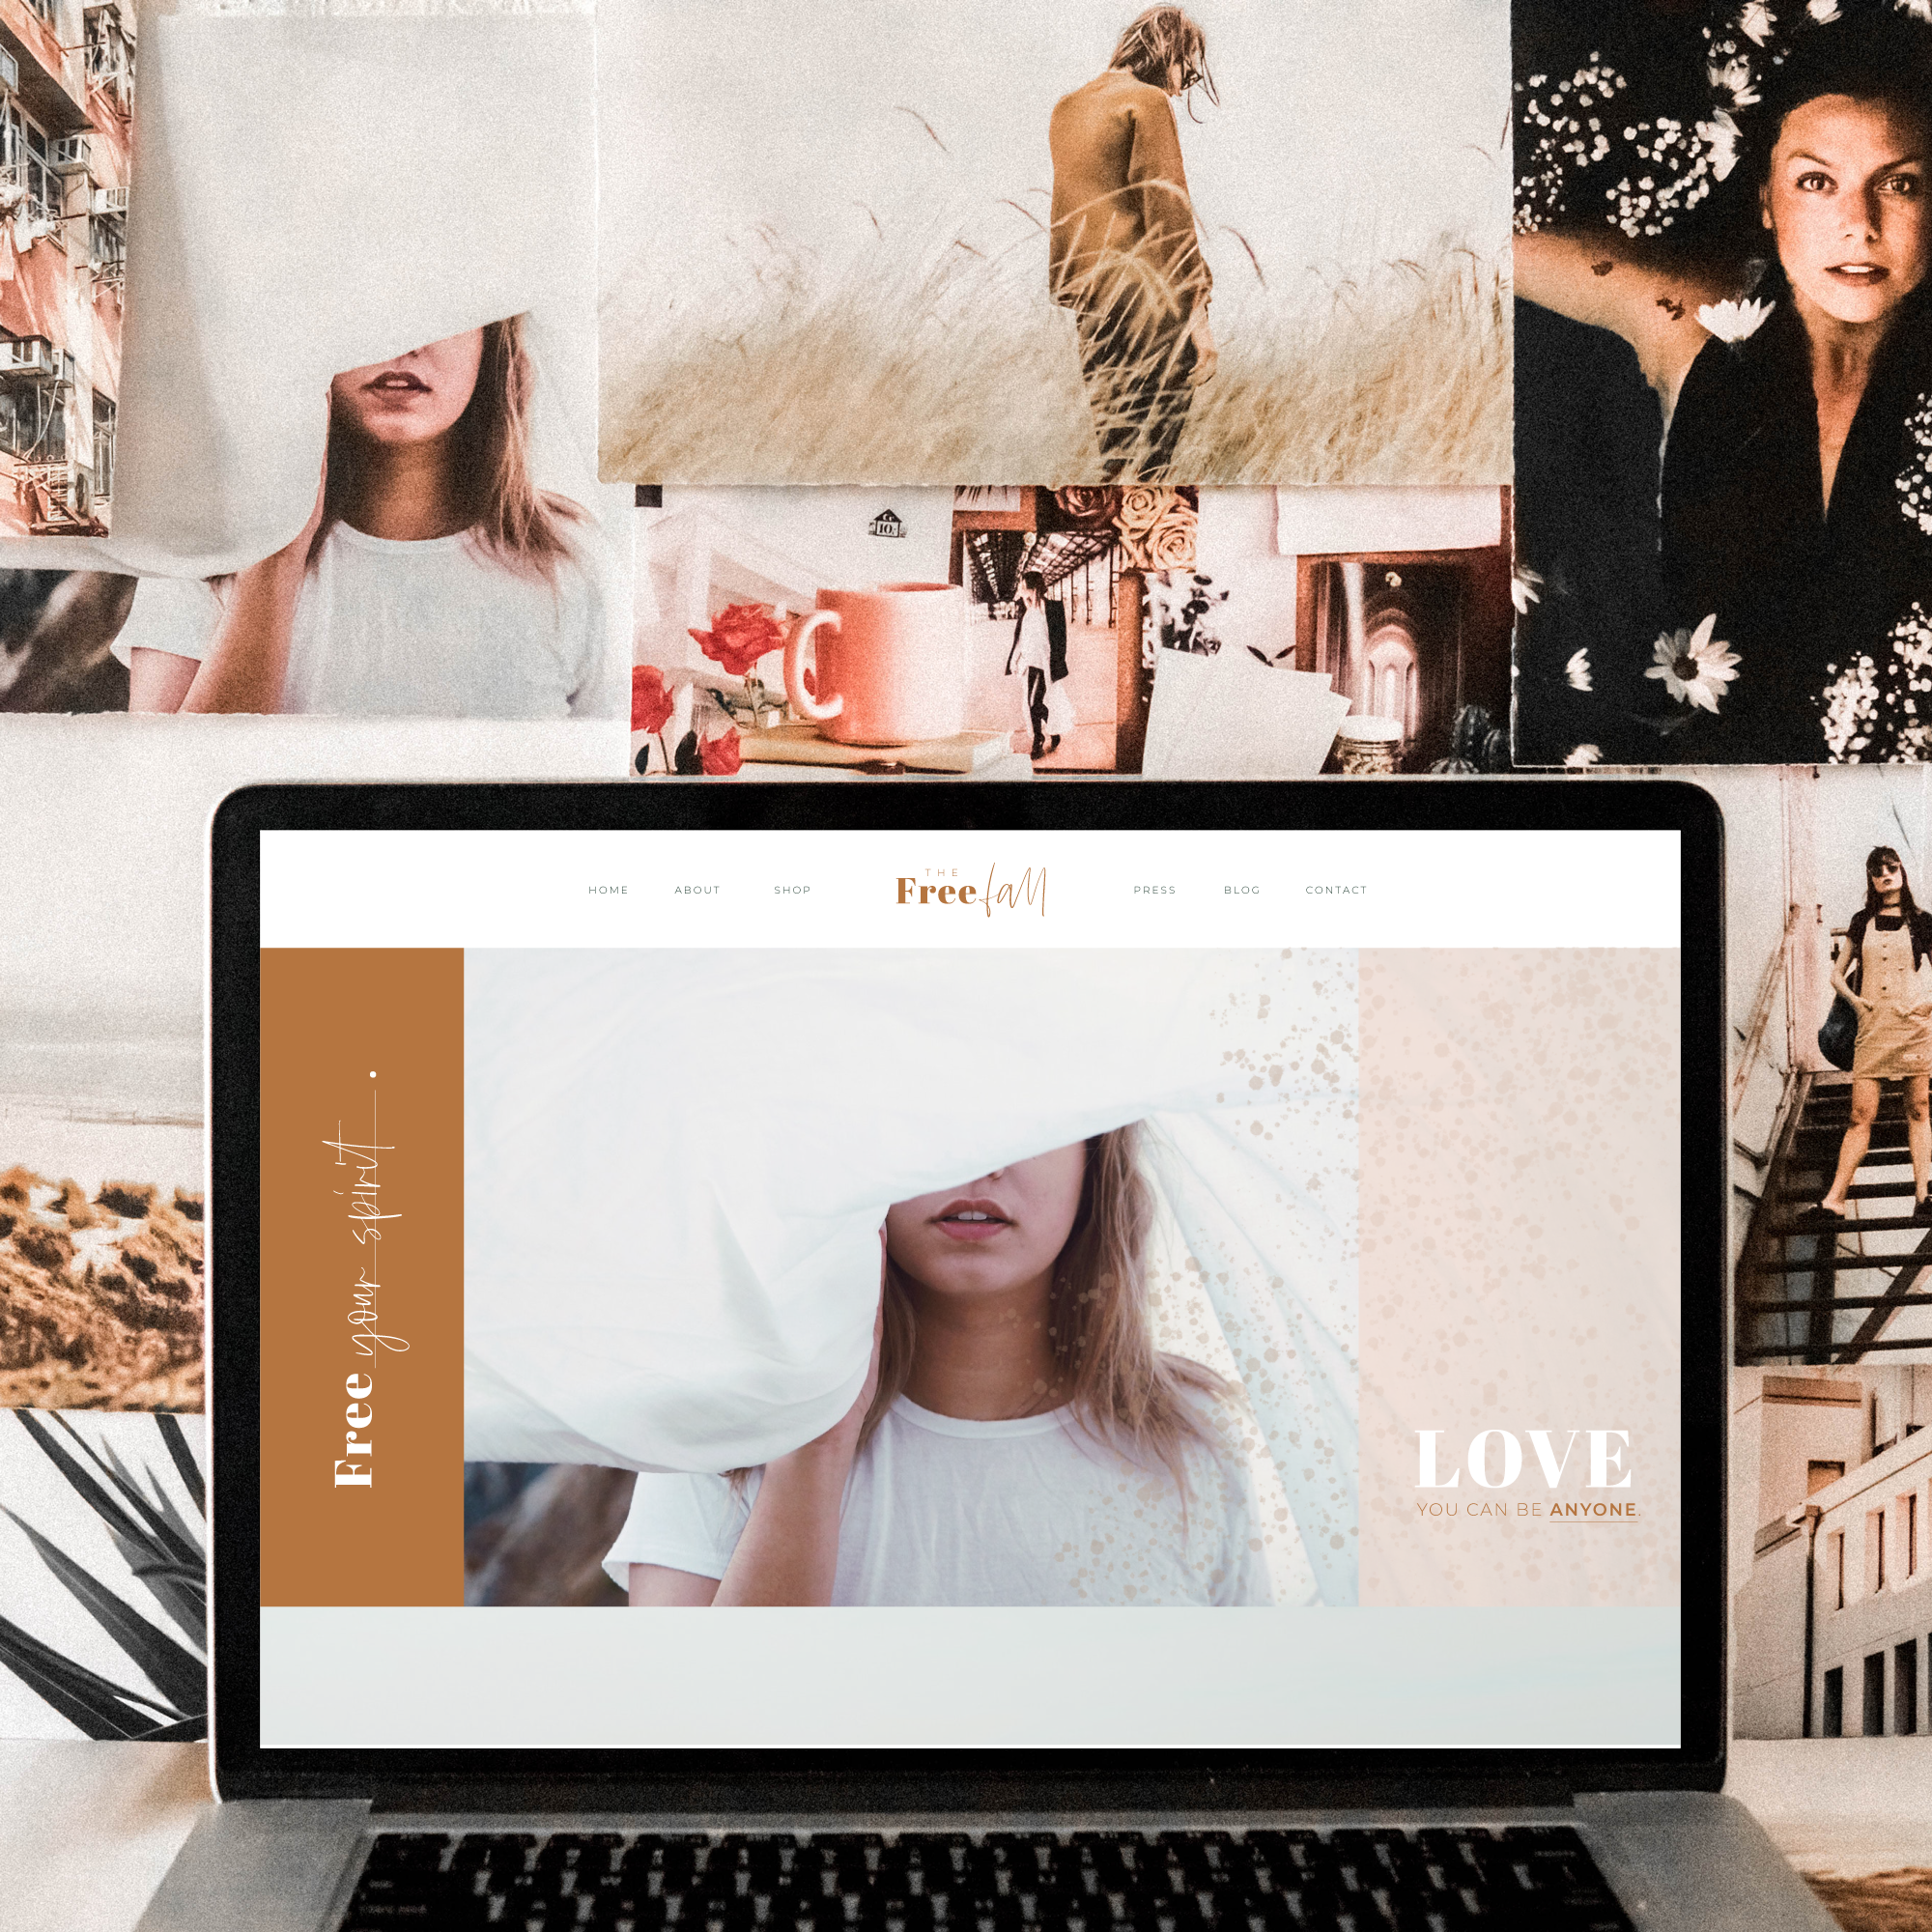
A few of my favorite templates to get you started…
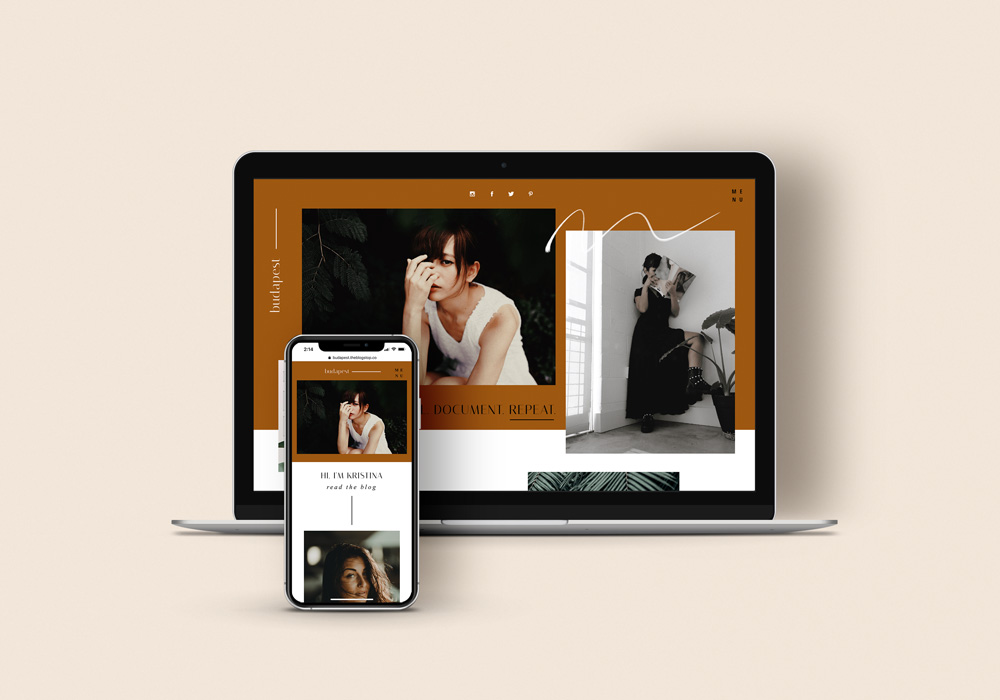
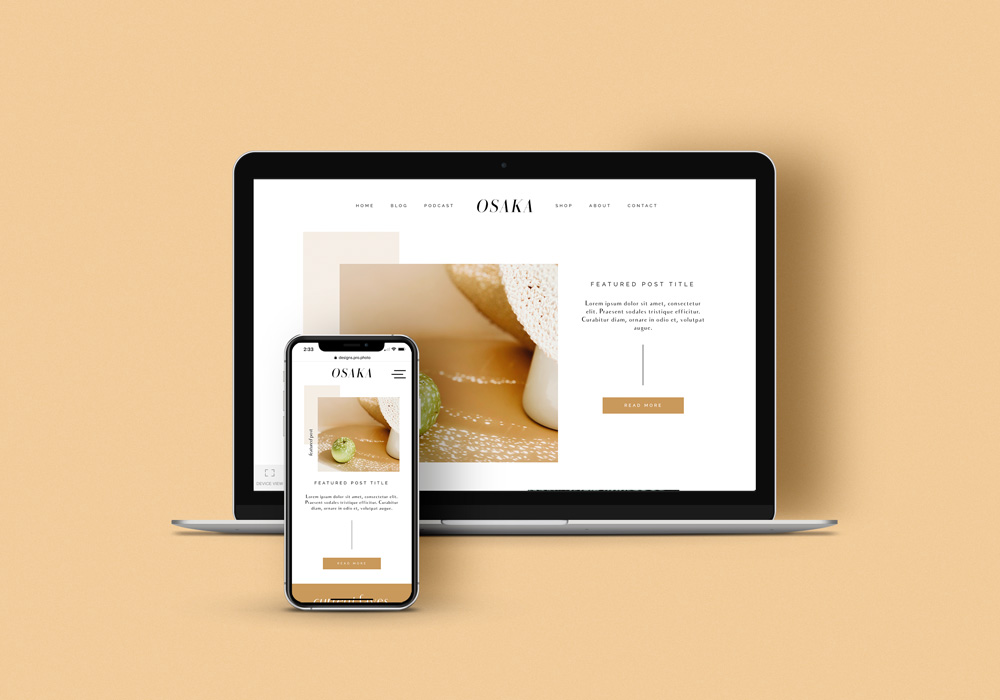
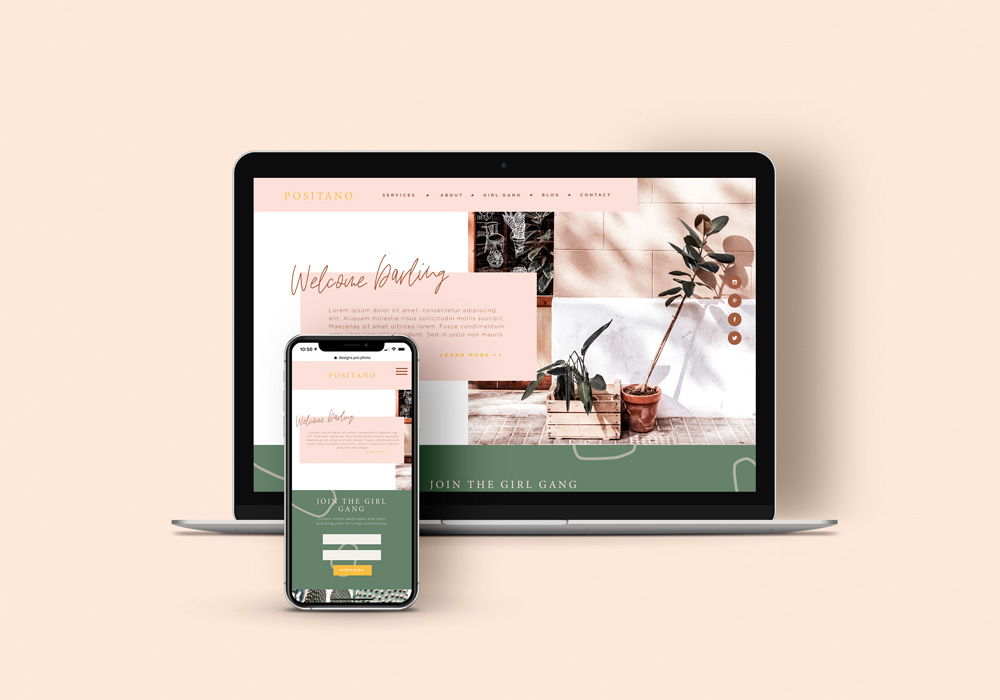
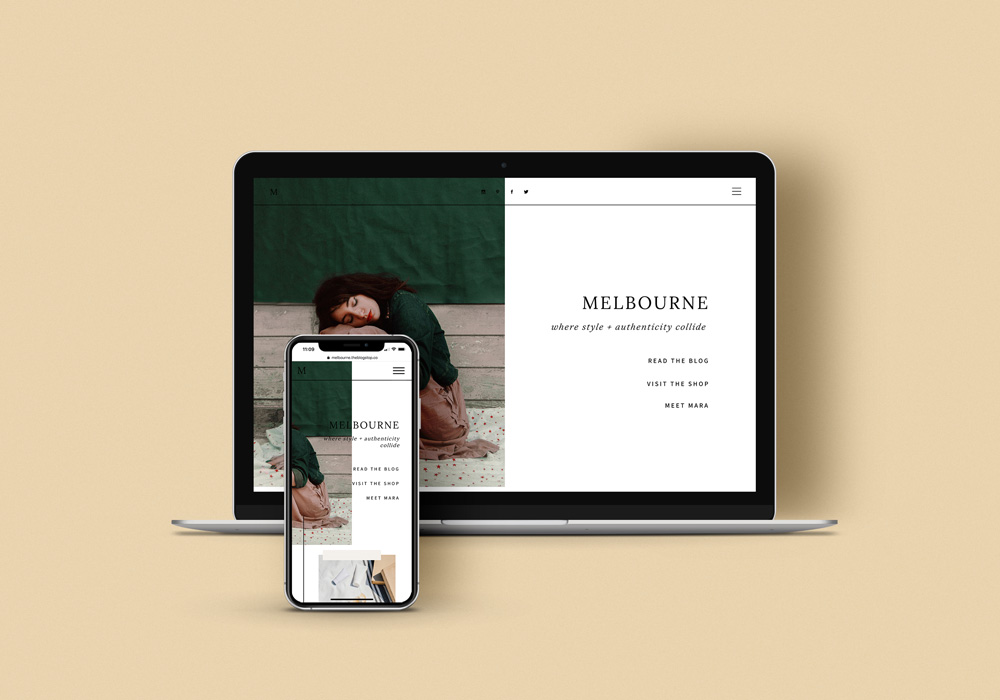
Can’t wait to see what you create!
xx,
Ariel

